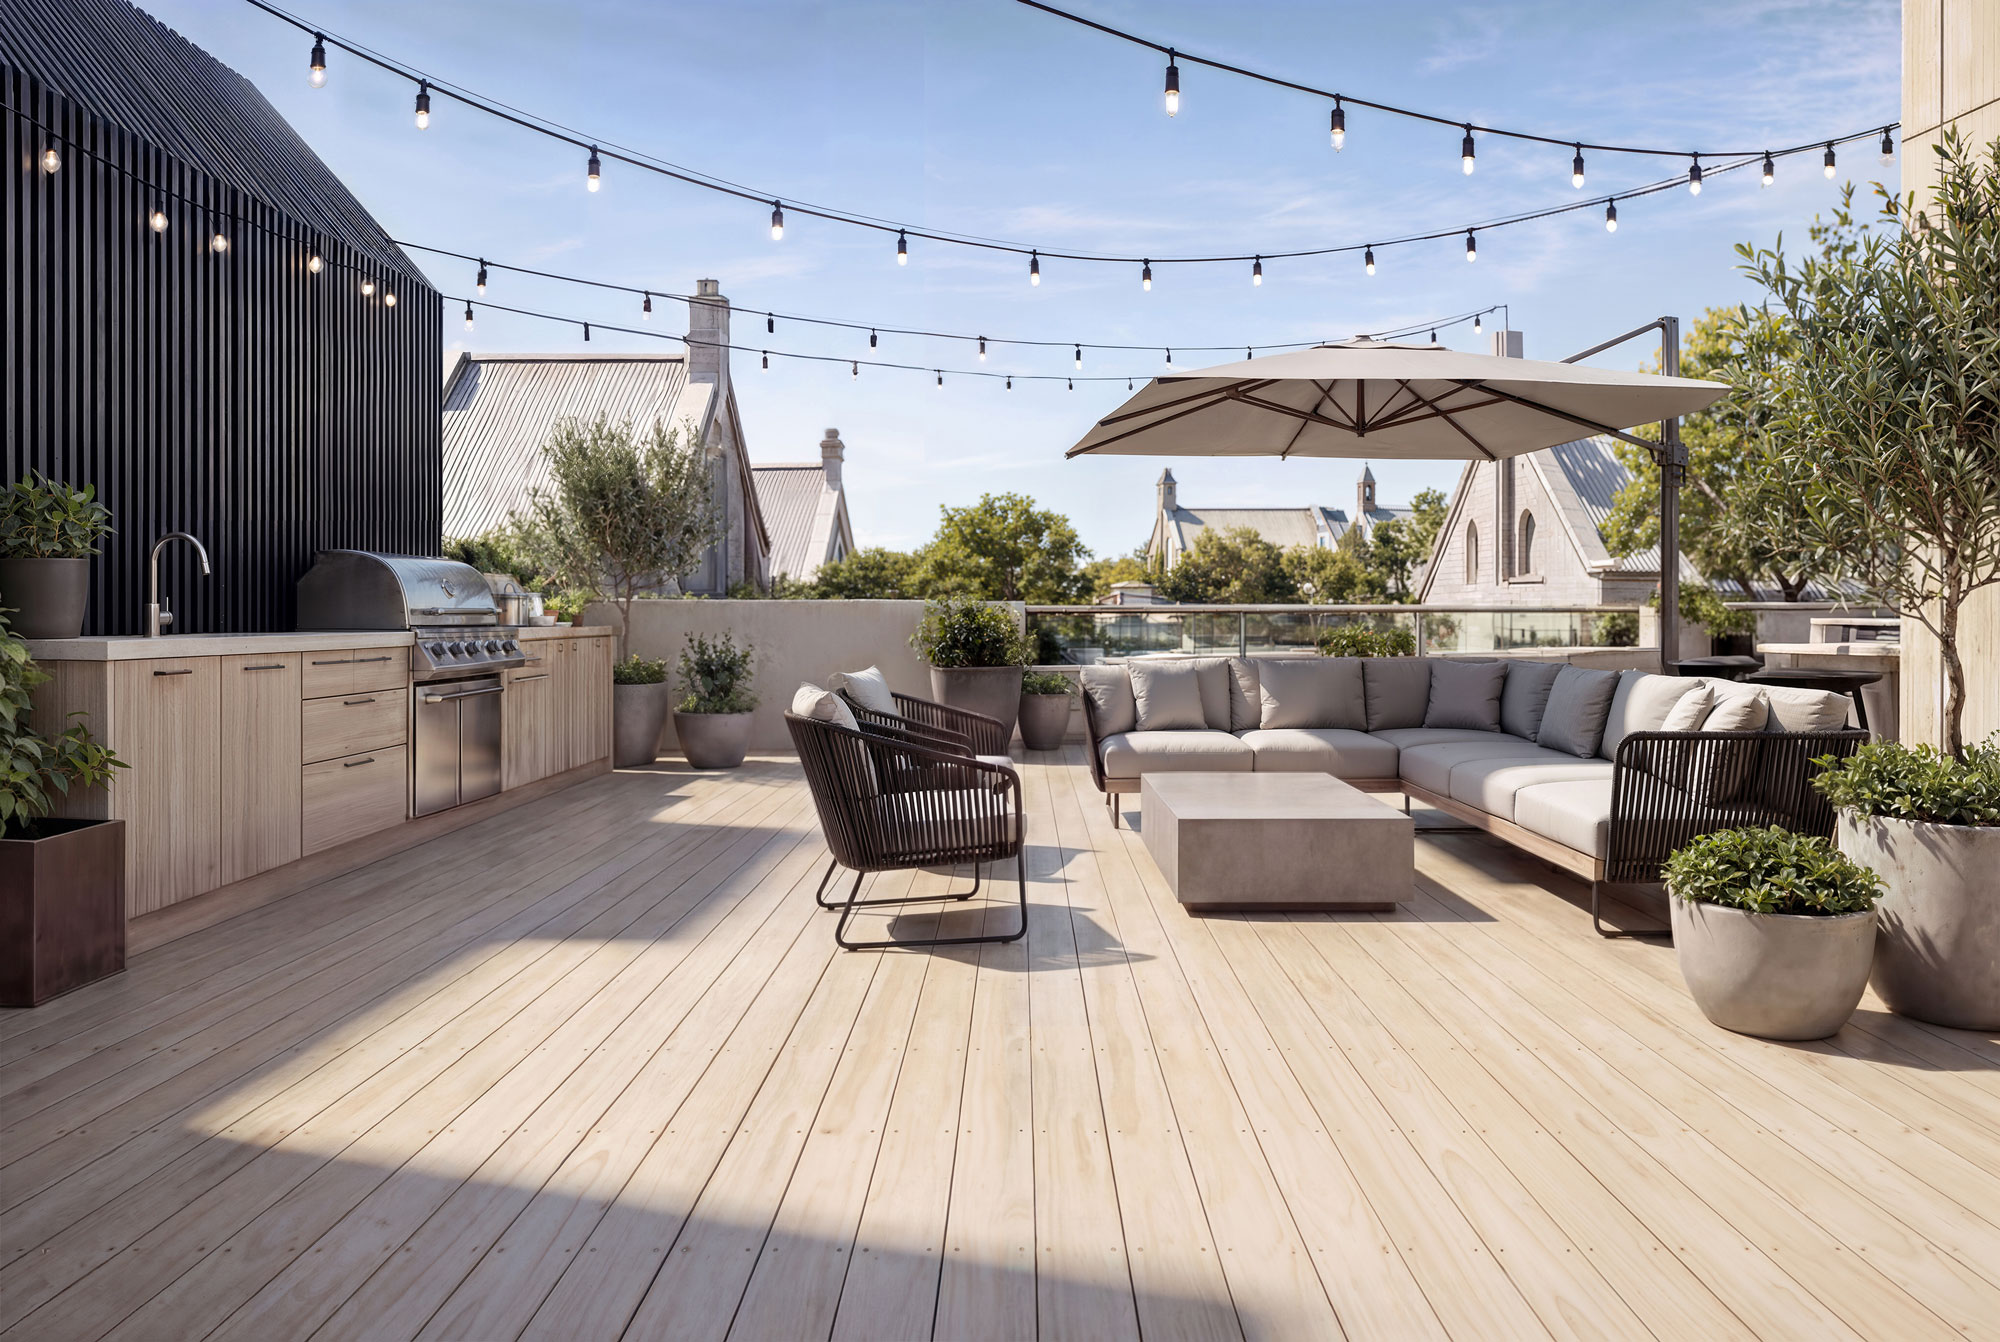
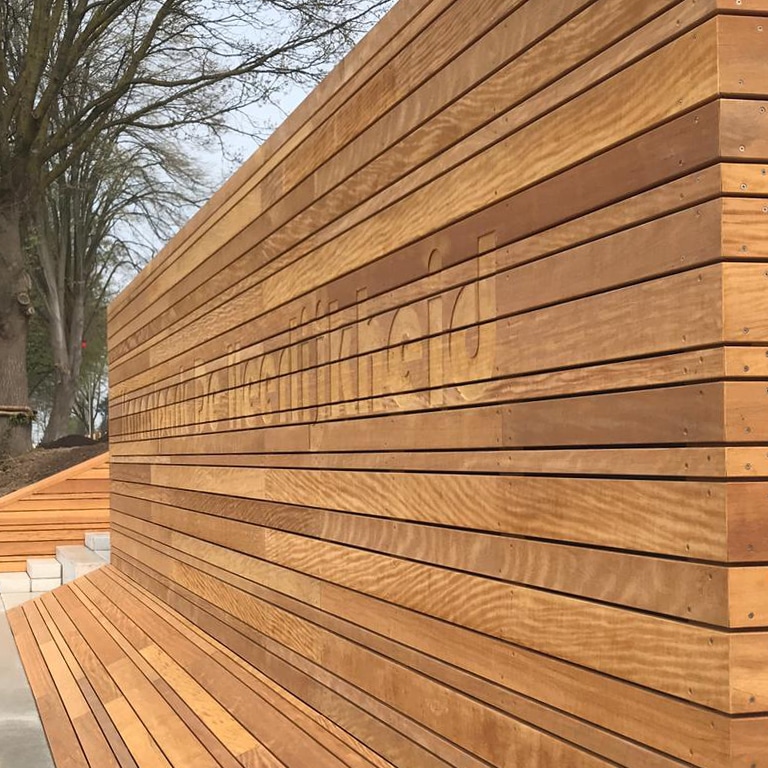
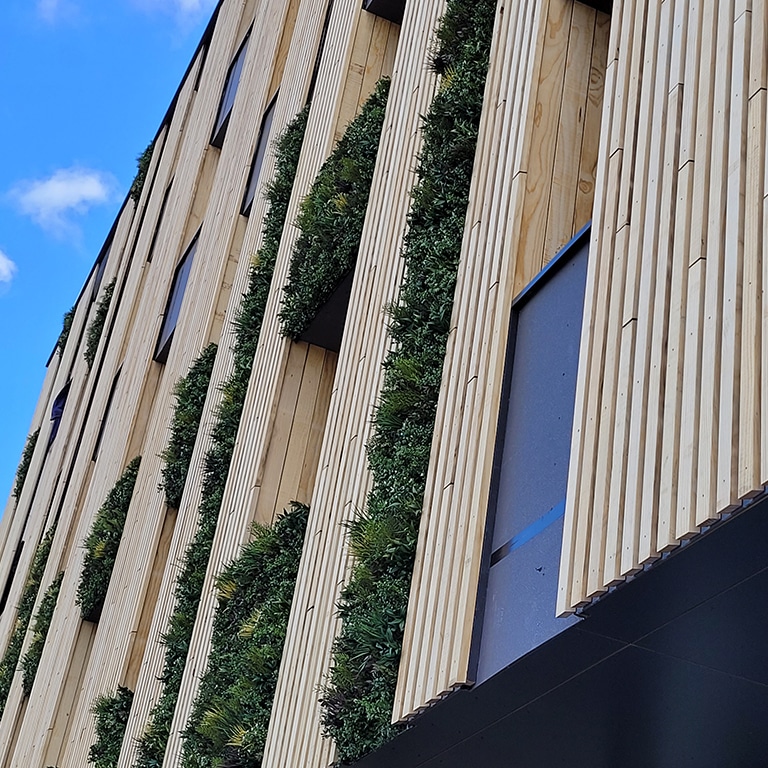
Installation of facade cladding
When creating a facade, it is essential to make the right choices for facade cladding profiles, framework, mounting materials and finishing systems. For facades on stone-like inner cavity walls, insulating materials, wooden posts and vapour-permeable moisture-resistant foils are often added. In this guide you will find important implementation recommendations for successful installation of cladding, as well as useful information about ventilation, finishing and maintenance.
Implementation orders for the installation of facade cladding
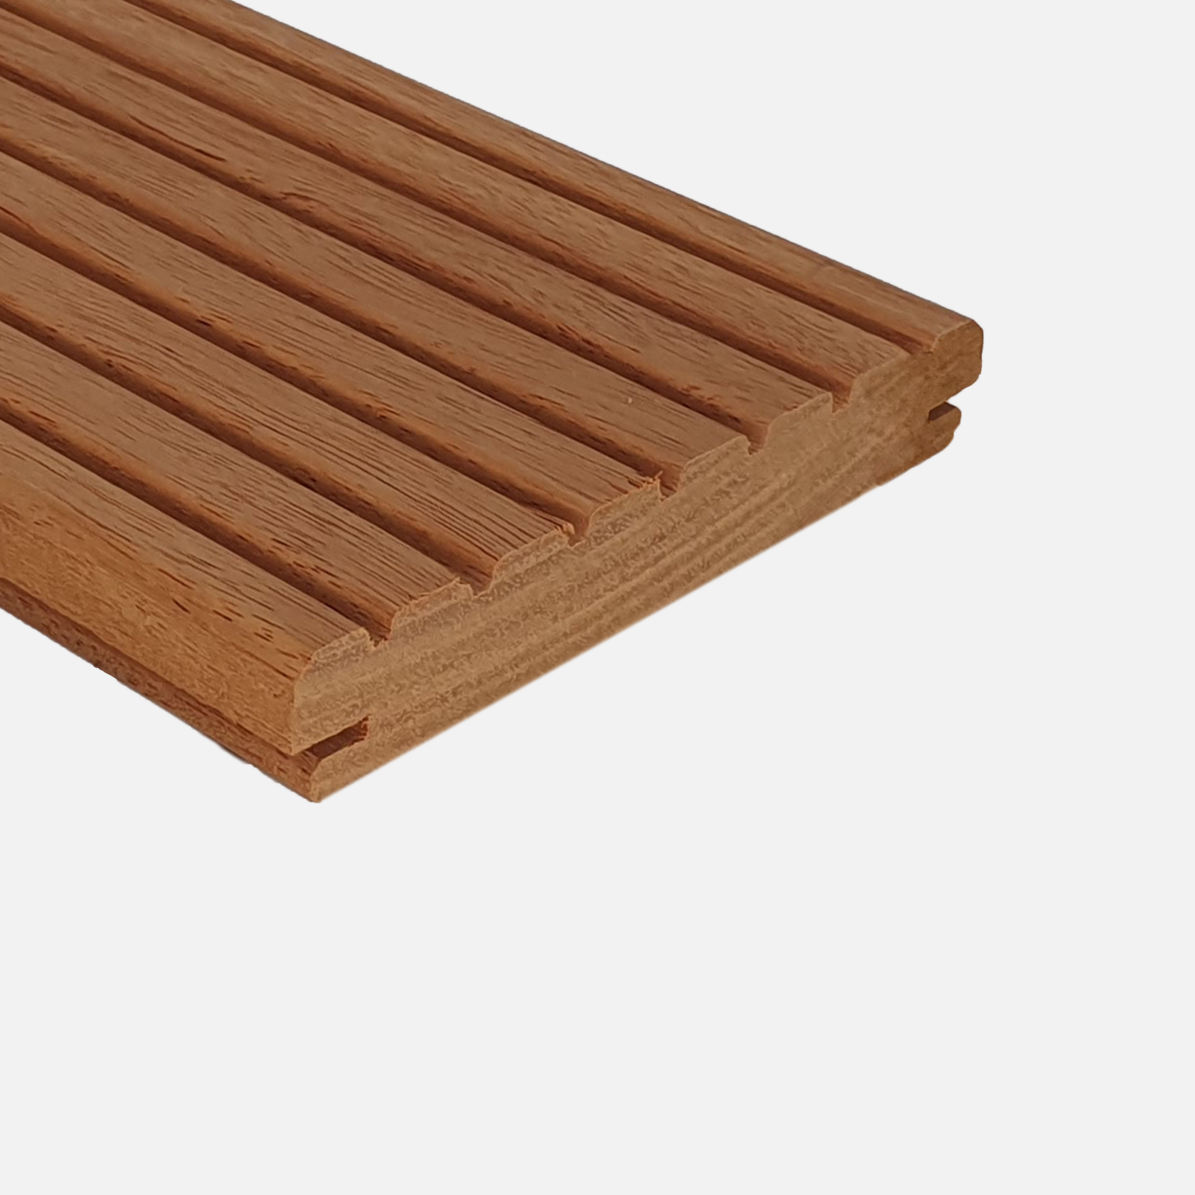
- Attach the parts to the ends of the profiles with one nail or screw per support point at a minimum distance of 50 mm from the end to prevent head cracks. Pre-drilling is recommended for smaller distances, modified wood and harder wood types. For intermediate support points, preferably use one or two fasteners per line, depending on the profile width. Maintain a minimum distance of 15 mm from the edges. For wooden cladding on outdoor sheds, it is advisable to use 2 nails or screws per support point because of the contribution to stiffness and writing effect.
- Place the parts with a clearance of 3-4 mm in width to prevent any swelling. This also prevents dirt streaks.
- Keep a free space of 7-10 mm between the parts and adjacent construction parts. When meeting cladding profiles, also ensure 7-10 mm space between the parts. Treat the ends with a wood sealer.
- Note the termination at the bottom of the facade. Leave a minimum distance of 200 mm, preferably 300 mm, between the wood and the ground level to prevent splashing moisture and dirt. Hard, flat finishes can cause moisture and dirt to splash even higher. A gravel box is recommended. If necessary, extra durable parts can be placed below 300-500 mm for easy replacement.
- Prevent water from entering the ends of vertically installed facade cladding profiles by bevelling or using a Z-profile. Treat the ends with a wood sealer. When using cover profiles, take the required ventilation space into account.
- Bevel the bottom line or end edges inwards to create a drip edge.
- When meeting vertically applied siding, create bevels for drip edges. When meeting, leave a space of 7-10 mm between parts.
- Make sure that the ends of the (vertical) facade part are no more than 30 cm from the back rail to prevent expansion in the facade. If necessary, an extra line can be placed to secure the end.
Ventilation of wooden cladding
Like other cladding materials, wood performs best when mounted on a suitable substructure and in a ventilated facade system. This type of facade provides continuous ventilation behind the decorative layer, with inlets and outlets at the top and bottom. This allows rainwater and condensation to drain behind the cladding without loss of insulation effectiveness.
For the installation of facade cladding, a substructure of vertical wooden slats with a center to center distance of maximum 600 mm is recommended. The batten dimensions must be a minimum of 19 x 44 mm when fully supported (if not, the minimum dimensions must be 25 x 50 mm). Always consult the building code and local building regulations for any additional requirements.
Finishing, maintenance and ageing
It is not always necessary to provide facade cladding with a finish. Durable and dimensionally stable types of wood can be used without a finishing system, whereby the profiles turn gray due to the influence of wind and weather. The speed and extent of graying can vary.
Graying is possible for wood species such as Western Red Cedar and various sustainable hardwood species (class I or II). Preserved and modified wood can also be left untreated. During the graying process, color differences and slight cracking may occur on the surface. Preferably use wood with a minimum thickness of 18 mm for even graying. If an even graying is desired, the facade must be evenly and sufficiently exposed to the weather elements. Roof overhangs and the like protect finished wood, but are not recommended for facade cladding that you want to age. In such cases, the use of Equal Weathering Stain can be considered for the desired (silver) gray color. Please note that aging may be less attractive in a tree-rich environment and on the north side of buildings. Although certain types of wood such as Douglas fir are sometimes used untreated, it is advisable to preserve these types of wood or at least provide them with a semi-transparent stain because of any sapwood in the parts.
Sources: Houtwijzer Bouwen and Accsys Technologies
Ask your question